6.4 · Photos, Video and Measuring
Rangefinder and Laser Meter
Point, shoot, read the distance.
LiDAR rangefinder: Each reading keeps its angle and a photo of the spot.
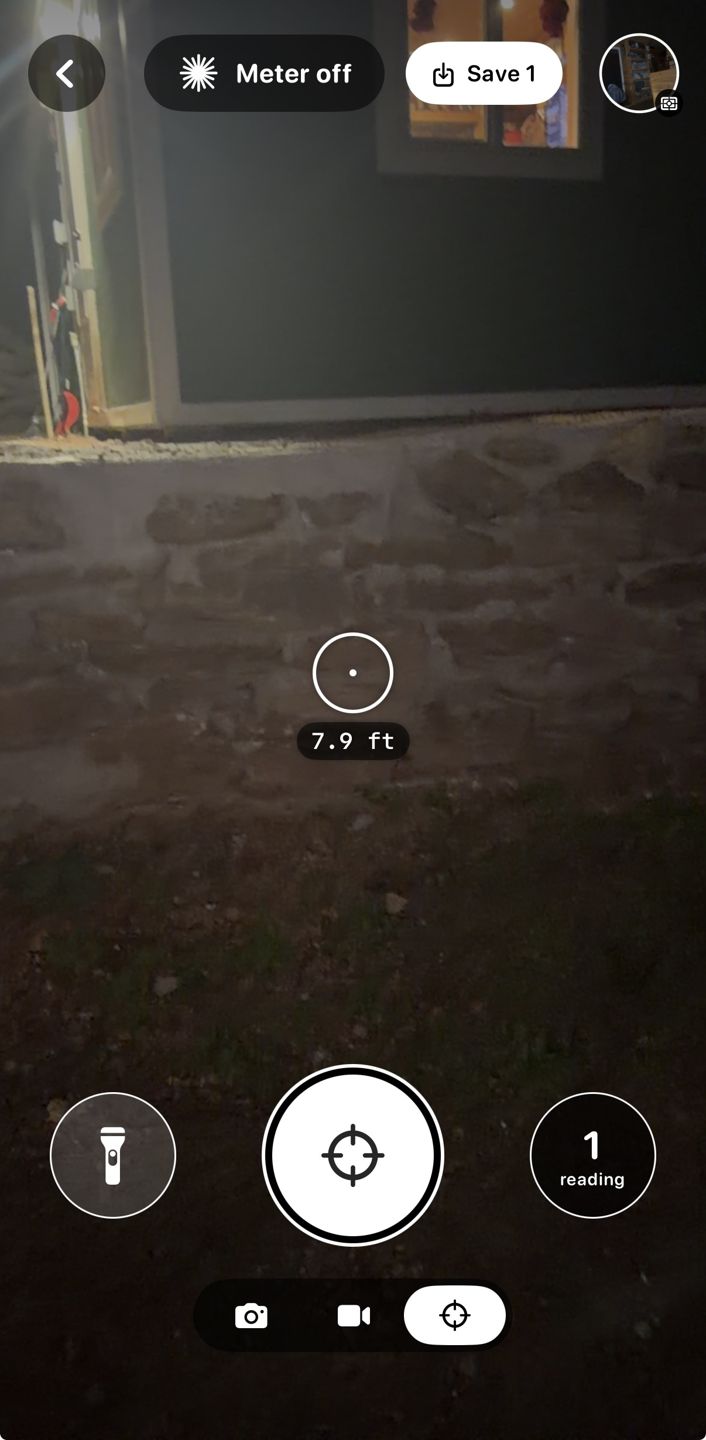
Open the camera and tap the scope button left of the Photo | Video switch (with LiDAR and Thermal off). The ring reads the distance to whatever it sits on, out to about 5 m (16 ft): white in range, red past about 5 m or with no reading. Tap Shot (or volume up). Each reading keeps its distance, its angle up or down, and a photo of what the ring was on.
Pair a laser meter: Huepar is supported; many more meters are in beta.
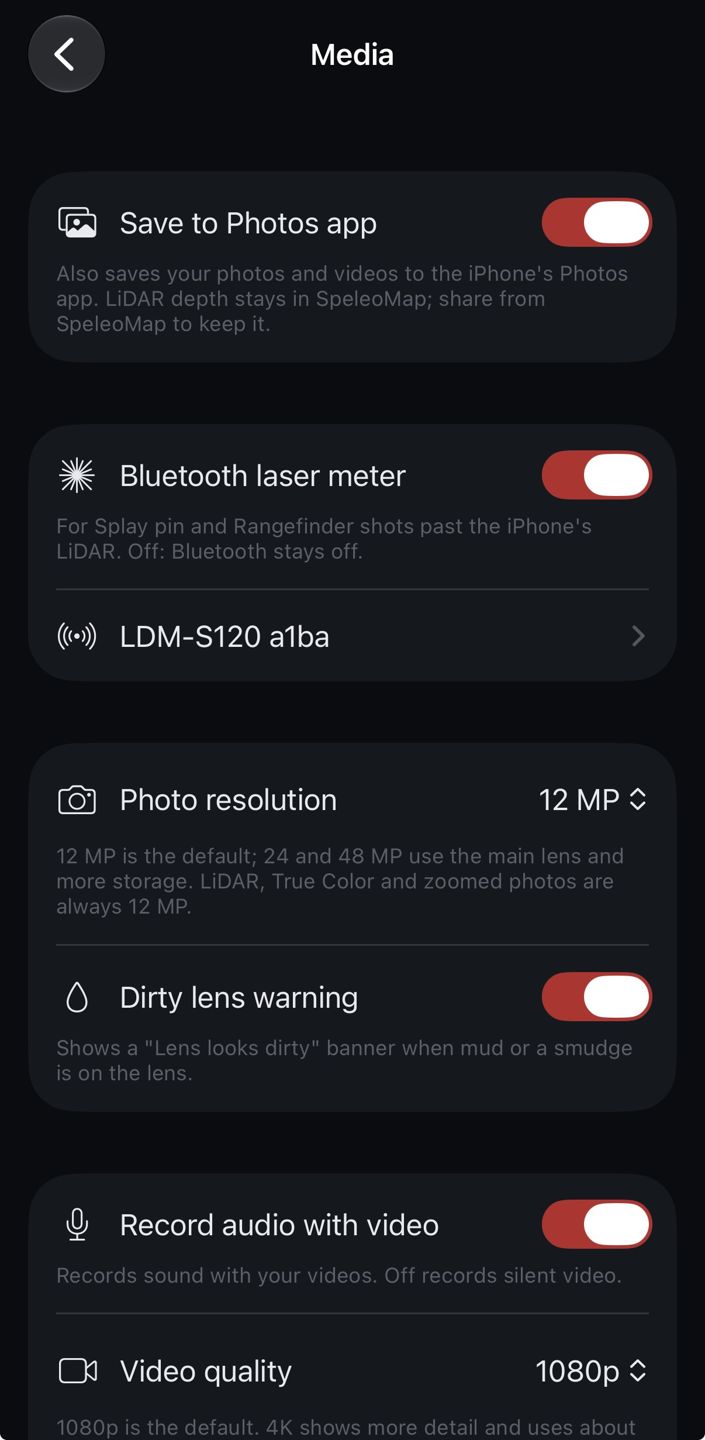
Go to Settings, Devices, turn on Meter and pick your meter. SpeleoMap remembers it and reconnects whenever it's on nearby. Supported: Huepar S-series (they show up as LDM-...). In beta: Tacheo 2, Cavway X1, BRIC4 / BRIC5, Bosch GLM C, Leica DISTO, Disto XBLE, Mileseey and Stanley TLM99s. Each has its own page with setup notes. Supported devices · 10.1 Laser Meters and Instruments
Mount it: So the laser goes where you're aiming.
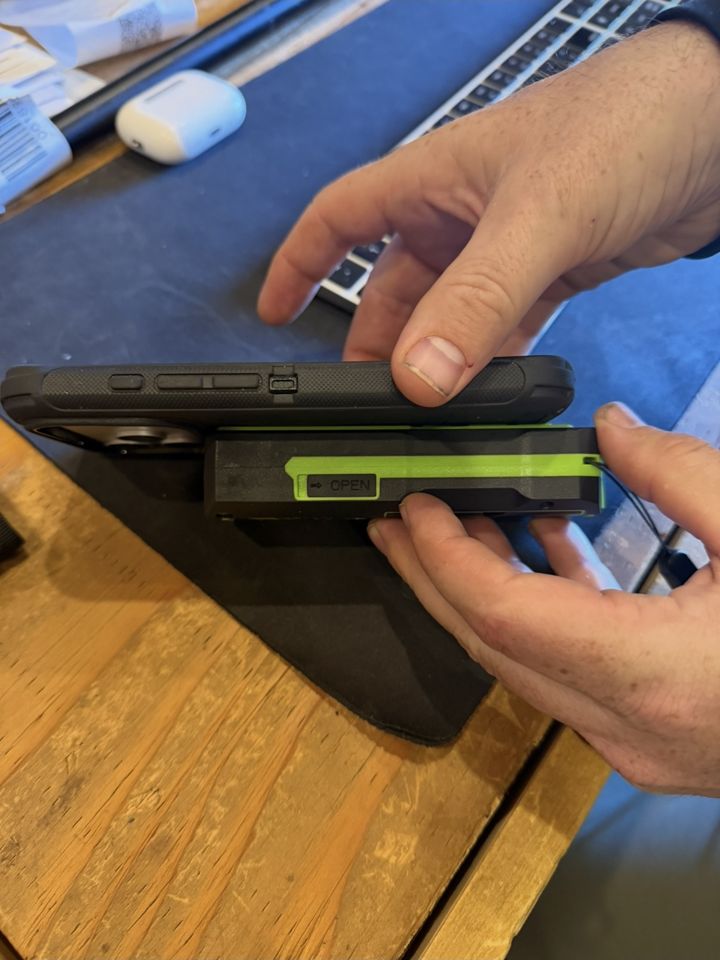
Meter back to back behind the phone, both screens facing you, tops the same way. The laser leaves the top edge of the phone, so you aim the phone like a remote.
Shoot: Direction comes from the phone, tilt from the meter.
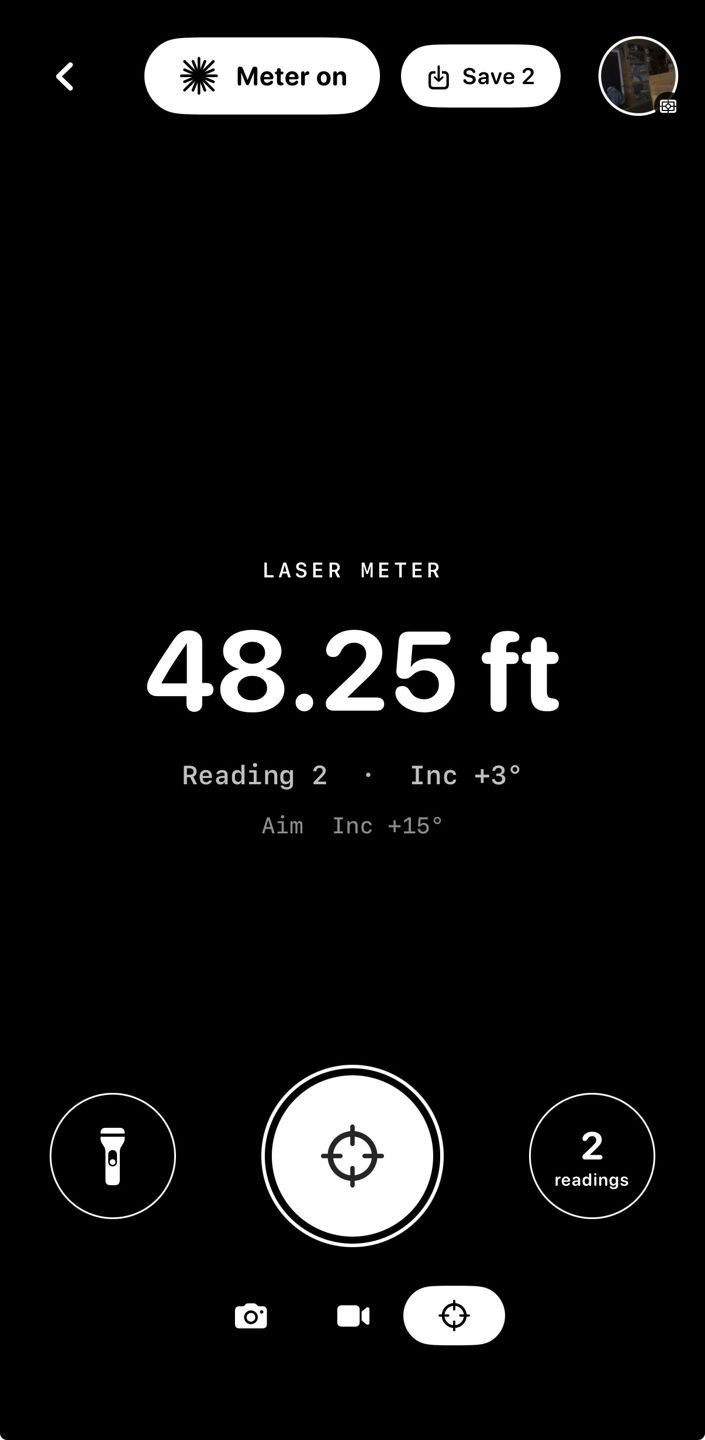
Tap Meter on. The screen goes black and shows the last shot big, its angle and a live aim line. Tap Shot: the meter fires and the reading lands, with no 5 m limit. On iPhones without LiDAR the meter is always on. Put the meter in angle mode and its own tilt sensor gives the inclination; direction always comes from the phone. Meters or feet on the meter, either works. On meters that need two presses (Huepar), SpeleoMap turns the laser dot on as soon as the meter screen opens and again after each shot, so you can see where you're aiming before you fire.
Save the set: One note and one Range tile; survey shots use Splay.
Tap Save to write the readings as one note: on the pin's station if you came from a station, otherwise on the project. Leaving saves any you haven't. In Media the set is one Range tile (the scope with the shot count): tap it and swipe through each shot's photo with its reading. Meter shots say external meter and have no photo (the camera isn't on the beam). To add shots to the survey itself, use Splay: see Splays and LRUD. Save also starts a fresh set.
Mentioned in: 3.4 Splays and LRUD · 9.10 Media · 11 Troubleshooting